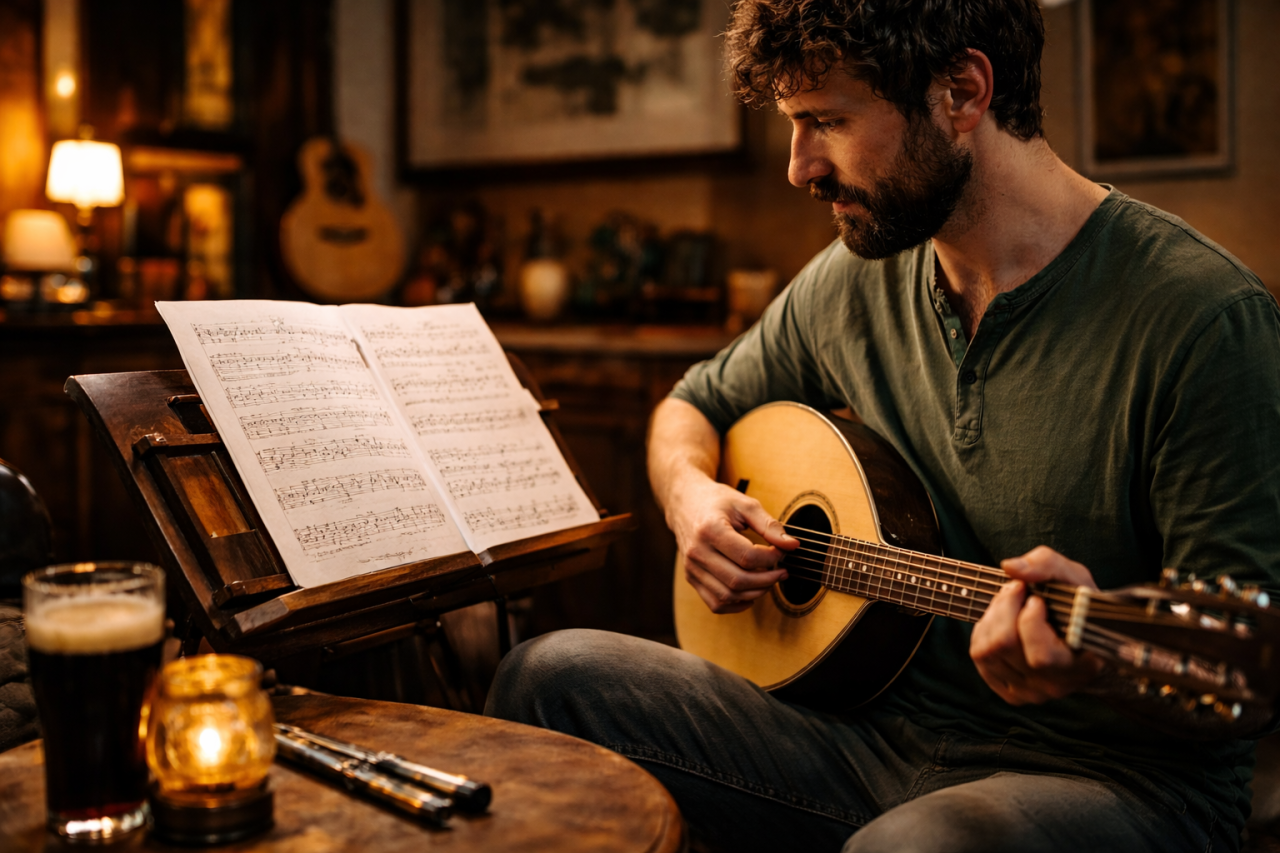
How to Accompany Irish Music (Young Tom Ennis) on Irish Bouzouki
 Declan Plummer
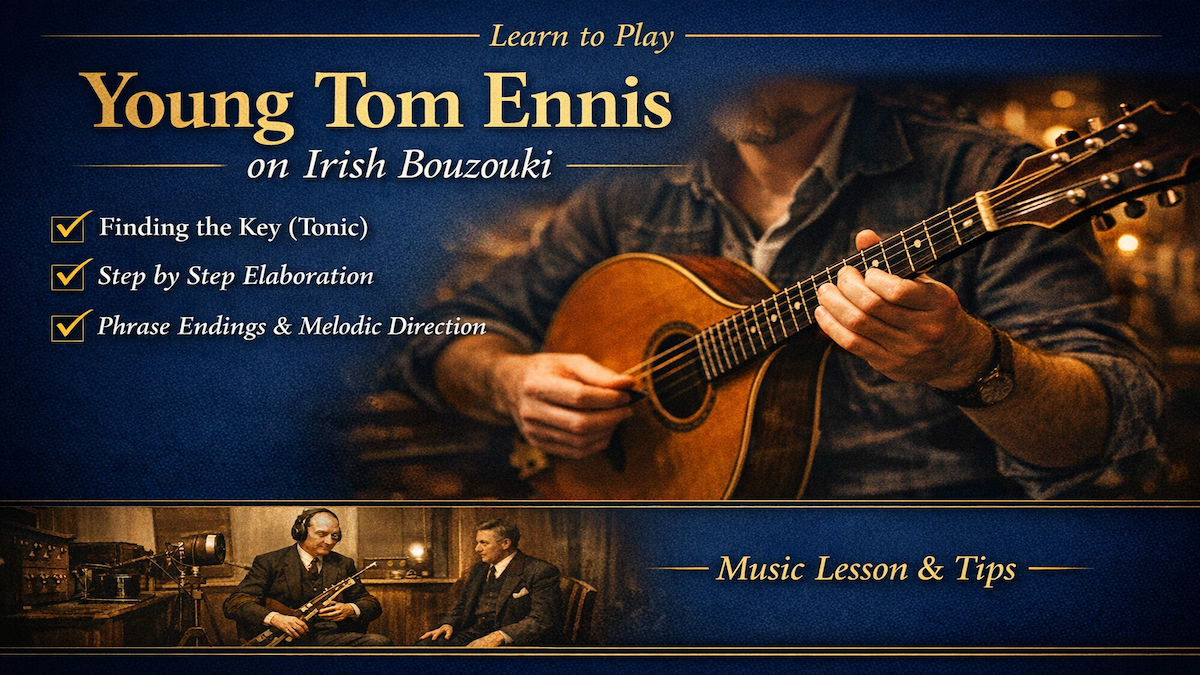
Learn bouzouki accompaniment for Young Tom Ennis’s Jig: find the key, set capo, use drones, hammer-ons, motifs, and counter-melodies.
How To Accompany Young Tom Ennis On Irish Bouzouki
This lesson explains how to build a musical bouzouki accompaniment for the jig Young Tom Ennis by finding the tonic, choosing the right capo position, holding a steady jig rhythm, and gradually adding simple motifs, hammer-ons, and contrasting register ideas that make the accompaniment more expressive without overcrowding the tune.
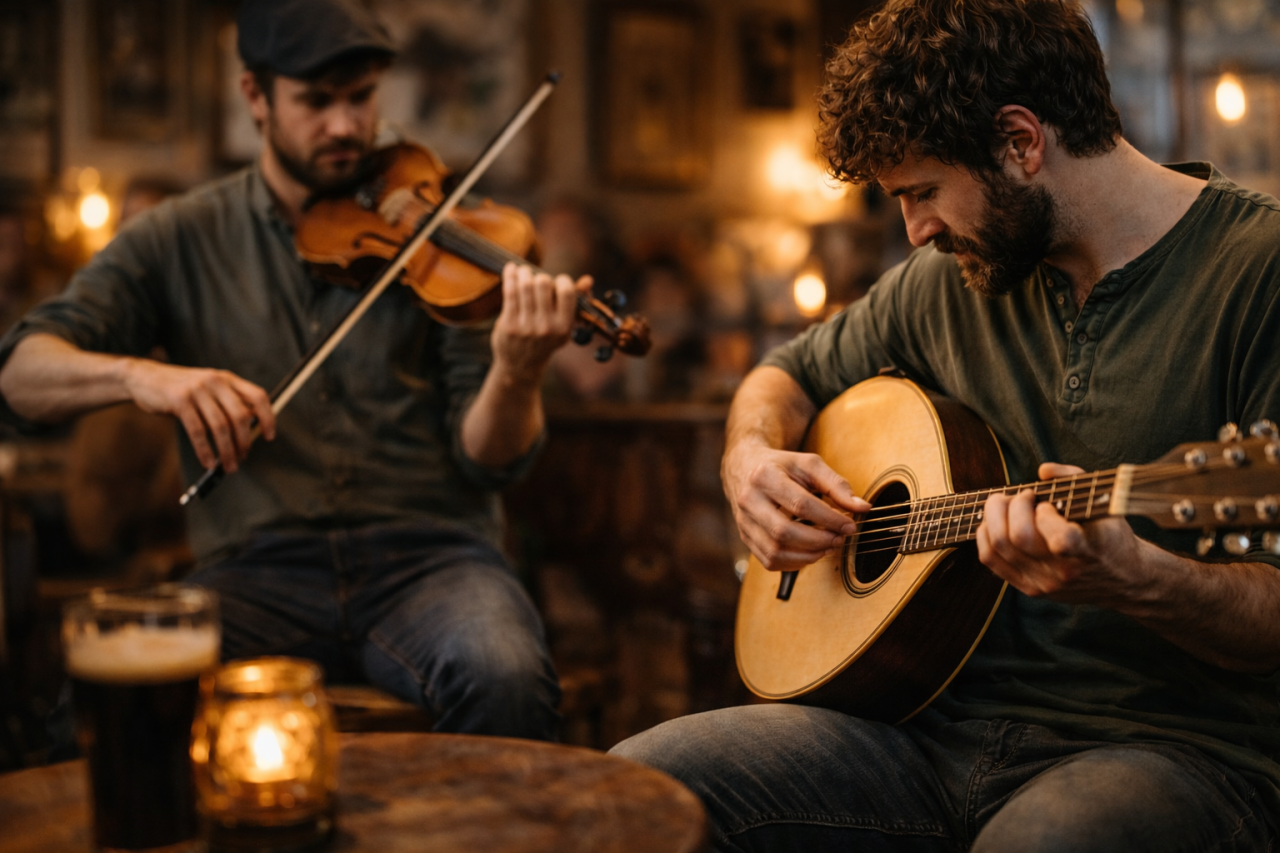
A strong accompaniment in Irish traditional music is not only about knowing a few chords. It is about listening carefully to the tune, locating its tonal centre, and deciding how much space to leave for the melody. In this practice session, the focus is on creating accompaniment patterns for Young Tom Ennis, beginning with a drone-based approach and then developing more interesting textures from that starting point.
One of the most useful ideas in this lesson is that a tune with long stretches of one chord gives you freedom. Instead of changing harmony too often, you can concentrate on rhythm, tone, articulation, and small melodic decorations. That makes the bouzouki part feel supportive, musical, and alive, rather than heavy or repetitive.
The session also highlights a practical reality of accompaniment: sometimes the original key is unusual, especially when playing along with fiddlers or other melodic instruments. Rather than becoming stuck, the player works out the capo position, tests the resonance of different fret placements, and then chooses the version that is most useful for practice and for real session playing.
- Find the tonic first so you can identify the key centre and capo position.
- Start with a simple drone or full chord before adding extra movement.
- Build accompaniment ideas gradually through hammer-ons, arpeggios, and phrase-ending motifs.
Start By Finding The Tonic
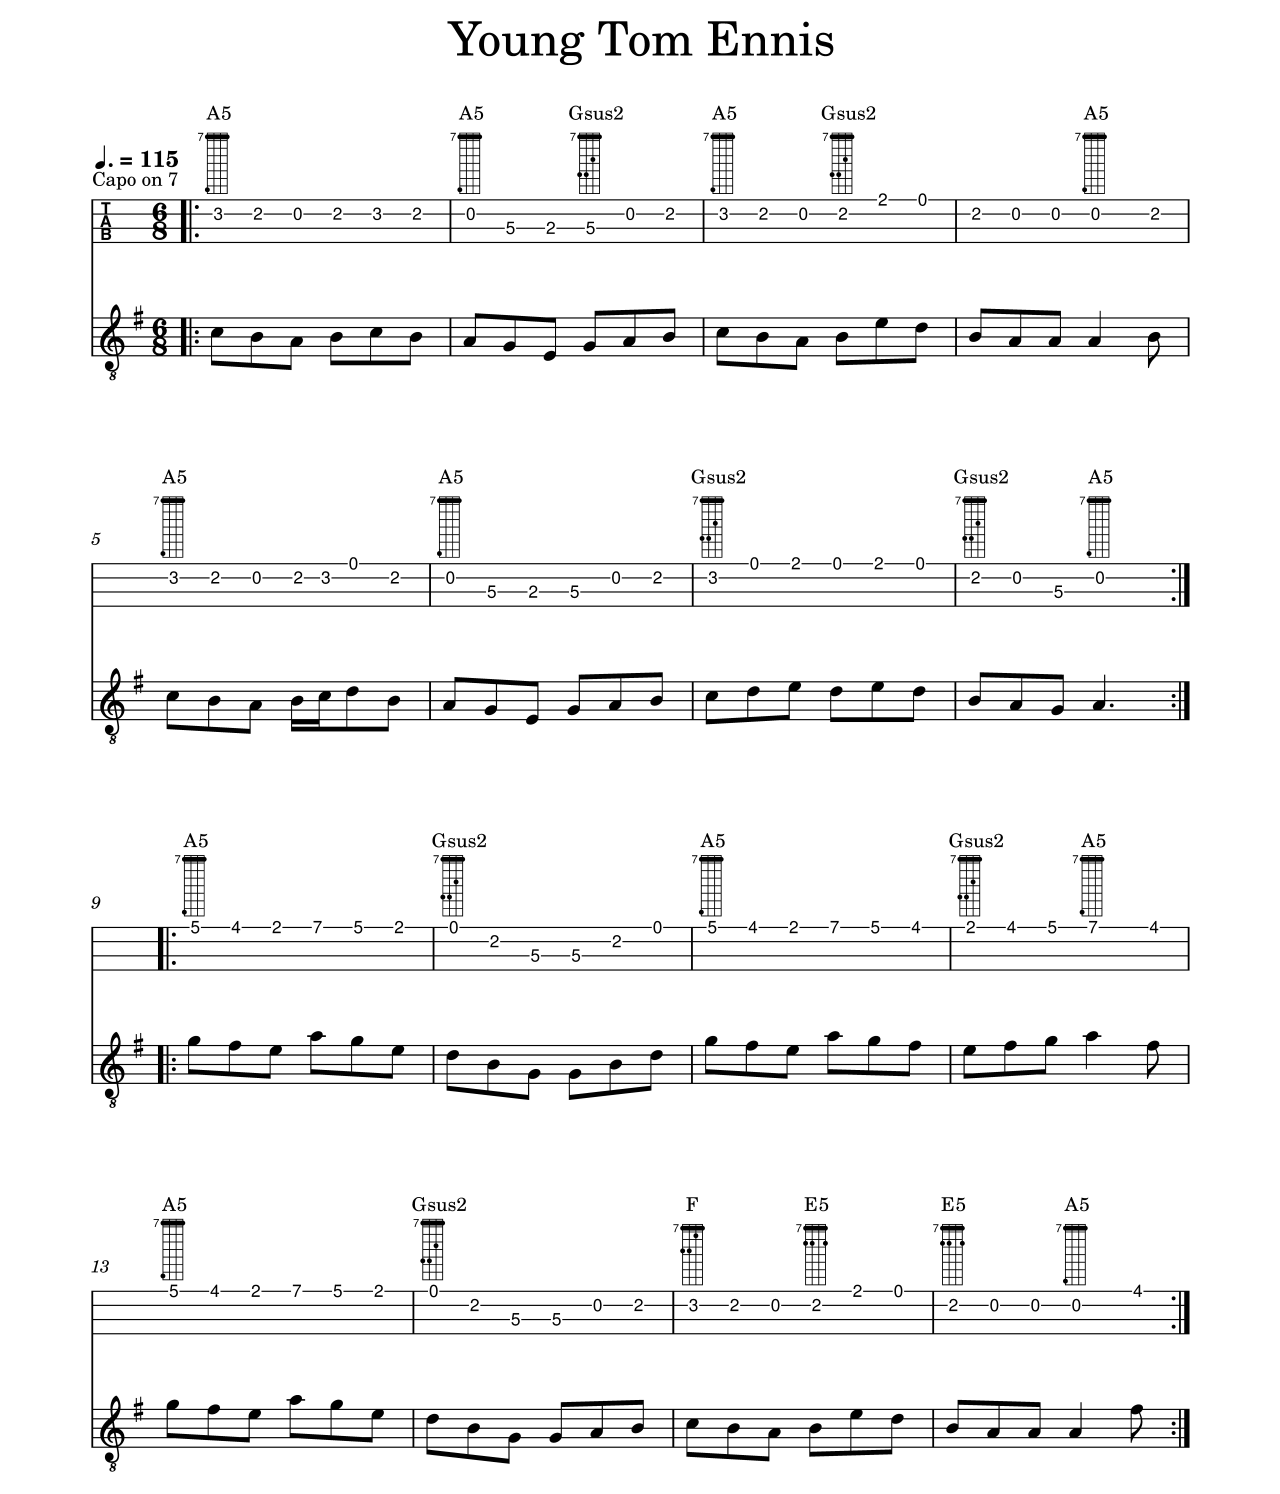
The first job is to find the tonic note by listening for the drone-like pitch that feels stable throughout the tune. In the transcript, this is described as humming along until the tonal centre becomes obvious. That skill takes time, but it is one of the most valuable listening habits any accompanist can develop. Once the tonic is clear, the rest of the accompaniment becomes far easier to organise.
For this tune, the tonic leads to a capo placement high up the neck. The lesson shows that the accompaniment can be approached with the capo at the sixth fret for the original sound, while a more standard session-friendly version can be moved up a semitone and played with the capo at the seventh fret. Both approaches are useful: one preserves the colour of the original performance, while the other makes the tune more practical for common session contexts.
Pro Tip
Before you search for chord shapes, sing or hum the note that feels like “home.” If your ear finds that note reliably, you can work out the capo position much faster and make better accompaniment decisions from the start.

Choose A Simple Harmonic Foundation
A key teaching point in this lesson is that you do not need a complicated chord sequence at the beginning. The tune spends a great deal of time sitting comfortably on its home chord, which means a basic fifth chord or drone can carry much of the accompaniment. This is excellent news for developing players because it removes the pressure to change harmony too often and lets the right hand settle into a convincing jig pulse.
The player begins with a tonic-based power chord and treats it as the foundation for the A section. That creates room for experimentation. Rather than rushing into decorative playing, the accompaniment starts from something broad, stable, and rhythmically dependable. In Irish traditional accompaniment, this kind of restraint often sounds better than trying to fill every space.
Insight
When a tune allows you to stay on one chord for a long time, that is not a limitation. It is an invitation to explore tone, rhythm, and subtle counter-melody without disturbing the melody player.

Develop The Right Jig Rhythm
Once the chord is secure, the next goal is rhythmic control. The lesson suggests moving through three stages. First, strum the full chord so the pulse is clear. Second, reduce the texture by aiming more at the top three courses. Third, refine the pattern further by striking individual courses or outlining the harmony in a more arpeggiated way. That progression helps the accompaniment become lighter and more musical over time.
This is especially useful in different performance settings. In a loud session, full strums may be more effective because they keep the rhythm grounded. In a quieter duo setting, lighter arpeggiation can sound much more appropriate. The key is not to lock yourself into one texture. Instead, learn to move between fuller and leaner options depending on the room, the tune, and the lead instrument.
Practice Box
Spend a few minutes on each layer of texture. First play full strums only. Then repeat the section using only the top three courses. Finally, try a lighter arpeggiated version. This trains control and helps you choose the right texture in real playing situations.

Add Small Motifs Instead Of Overplaying
After the groove is established, small melodic ideas can be introduced. The transcript shows this happening through hammer-ons and tiny descending figures that grow naturally out of the chord shape. This is an excellent model for accompaniment practice: begin with one tiny idea, repeat it until it feels comfortable, and then extend it by adding a note before or after it.
This method keeps embellishment under control. Rather than throwing random notes into the accompaniment, you are creating motifs that relate to the harmony and to the tune’s phrasing. The result sounds intentional. Even better, several different ideas can grow from a single hammer-on, which means you do not need dozens of licks. You only need a few musical patterns that you can combine in different ways.
Common Mistake
Do not add decorative notes before the rhythm feels secure. If the pulse weakens every time you attempt a motif, simplify immediately and return to the basic strum. Ornaments should enhance the accompaniment, not destabilise it.
Place Ideas At The End Of Phrases
A particularly helpful observation in the lesson is that many of the best accompaniment ideas appear near the end of phrases, around cadences, or as turnarounds into the next section. That is where a brief figure can add shape without getting in the way. Phrase endings are natural punctuation points, so a motif there sounds musical rather than intrusive.
This principle is worth applying to many tunes, not just Young Tom Ennis. If you are unsure where to place a decorative figure, try the final beat or final bar of a phrase. This lets the melody speak clearly through most of the line while allowing the accompaniment to answer or support the cadence. It is a far more tasteful approach than filling every bar with movement.
Use Register Contrast Between Sections
The lesson also explores contrast between the A and B sections. In the A section, many ideas descend and sit comfortably in one register. For the B section, the accompaniment experiments with lower movement while the tune itself rises higher. This creates a wider overall sound and prevents the bouzouki from shadowing the melody too closely.
This is an excellent arranging habit. When the lead instrument climbs, the accompaniment does not always need to follow it. Often the better choice is to move the accompaniment lower, giving the music more depth and keeping the melodic line clear. This kind of contrary motion can make even a simple accompaniment sound more thoughtful and polished.
Insight
If the melody rises in the B section, try letting the bouzouki move lower. That wider spacing often makes the whole arrangement sound richer and less cluttered.
Chord Progression Snapshot
| Section | Main Harmonic Idea | Accompaniment Approach |
|---|---|---|
| A Section | Mostly tonic drone / fifth chord | Steady jig rhythm, then small hammer-on and descending motifs |
| Section Ending | Brief movement through contrasting chords before return | Use lighter strums or arpeggios to outline the change clearly |
| B Section | Same tonal world with lower-register ideas | Contrast the melody by moving lower and using related motifs |
How To Practise This Lesson Effectively
The transcript repeatedly models a very sensible practice habit: isolate, repeat, refine. A short section is looped, a single idea is tested, and then the idea is expanded only after it begins to feel natural. This is far more effective than trying to perform the whole tune perfectly from the start. Repetition in small chunks helps you notice where the rhythm loosens, where fingering feels awkward, and where an ornament genuinely belongs.
Another useful point is the use of backing tracks or percussion instead of relying only on a metronome. A metronome is valuable, but a rhythmic backing can make jig practice feel more musical and help internalise the groove. The goal is still accuracy, but the practice process becomes more engaging and closer to real playing.
Practice Box
Loop only the A section until the tonic chord, rhythm, and first motif all feel easy. Then repeat the same process for the B section. Join them together only after each part works well on its own.
Step-By-Step Practice Routine
Begin by listening to the tune several times without playing. Hum along until you can hear the tonic clearly and identify the note that feels like home.
Next, find the capo position that gives you access to that tonic on the instrument. Test both the original placement and any more standard alternative you may need for session use.
Then practise the A section using full strums only. Keep the jig rhythm steady and avoid adding any embellishment until the pulse feels reliable.
After that, reduce the texture. Aim for the upper courses, then try lighter arpeggiation. Notice how the sound changes and which version best suits a quieter musical setting.
Now introduce one small hammer-on or descending motif. Repeat it at the end of the same phrase each time until it feels consistent.
Move to the B section and experiment with lower-register accompaniment ideas while the melody rises. Keep the contrast intentional and do not overcrowd the tune.
Finally, play the whole tune slowly with a backing rhythm, a recording, or a melody player. Focus on groove, clarity, and tasteful placement of your motifs rather than maximum complexity.
Key Takeaways
✅ Find the tonic first, because that tells you the key centre and helps you choose the right capo position.
✅ A tune that sits on one chord for a long time gives you freedom to focus on rhythm, tone, and small melodic detail.
✅ Build accompaniment in layers: full strums first, then lighter strumming, then arpeggios, then motifs.
✅ The best place for many accompaniment ideas is at the end of phrases, near cadences, or as a turnaround into the next section.
✅ When the melody rises, letting the bouzouki move lower can create a wider and more supportive overall sound.
FAQ
Do I Need Lots Of Chords To Accompany This Jig?
No. Much of the lesson is built around the idea that a long tonic drone or fifth chord can work extremely well. The real skill is in controlling rhythm, texture, and timing rather than constantly changing harmony.
Should I Use Full Strums Or Arpeggios?
Use both. Full strums can be better in a loud session, while arpeggios often suit a quieter duet or teaching setting. A flexible accompanist should be able to move between the two.
Where Should I Put Decorative Motifs?
Start by placing them at phrase endings, cadences, or transitions between sections. Those points usually allow a little extra movement without interfering with the melody.
What If The Original Key Feels Awkward?
That is normal. You can practise in the original key to understand the tune’s colour, but it is also sensible to shift to a more practical session key when needed. The important thing is to understand why you are making that choice.
How Should I Practise Accompaniment Without A Melody Player?
Use a slowed recording, a looped section, or a simple backing rhythm. Practising with repeated short sections helps you refine your pulse, test motif placement, and build a part that will later work well with a live melody instrument.
Categories: : Irish Traditional Music
Did this article answer all your questions?
If you have any questions, or you want to learn more,
Click the Picture Below to Join the Community for FREE!